 Dispatch
Writing
Markdown as you type
Styling in the editor, plain markdown on disk.
Dispatch styles markdown while you write it. A heading is set as a heading, bold reads as bold, and the characters that produce them go invisible. The file itself is untouched by any of this — every marker is still in the text, and the piece opens the same way in any other editor.
What the editor styles
| You type | You see |
|---|---|
# Heading | A heading, one of six levels |
**bold** | Bold |
*italic* or _italic_ | Italic |
***both*** | Bold and italic |
| A word in backticks | Monospaced |
[text](url) | Underlined text; the address is hidden |
> a line | Indented and italic |
- item or 1. item | A drawn bullet, or the number |
Markers stay out of the way
A hidden marker takes no width, and it does not flash back into view when the caret reaches it. The caret steps across a whole run in one move, and backspacing over one deletes all of it — so both asterisks of a bold pair come off together instead of leaving a stray one mid-sentence.
Writing markdown without typing it
⌘B and ⌘I edit the asterisks around the selection rather than setting a font. With nothing selected they take the word the caret is in. ⌘I inside bold text gives ***…***.
Selecting text raises a small bar above the selection: Bold, Italic, Link and Centre.
Headings, lists, quote and the rest are in the action bar and in slash commands. There is no formatting toolbar.
Lists
Return continues a list and raises the number. Return on an empty item ends the list. Tab nests the item four spaces and ⇧Tab lifts it back out; the bullet drawn on screen changes with the depth, while the file keeps the - you typed.
Straight quotes and double hyphens are converted as you type. Spelling is not checked while you write — see Proofreading.
Focus mode
Everything but the paragraph you are in dims.
Focus mode fades every paragraph except the one holding the caret. Nothing moves and nothing is hidden — the rest of the piece drops to about a third of its usual strength, so the paragraph being worked on is the only thing at full contrast.
Turn it on with ⌘K → Turn On Focus Mode, or in Settings → Writing → Focus mode. The setting is remembered between launches and applies to every piece.
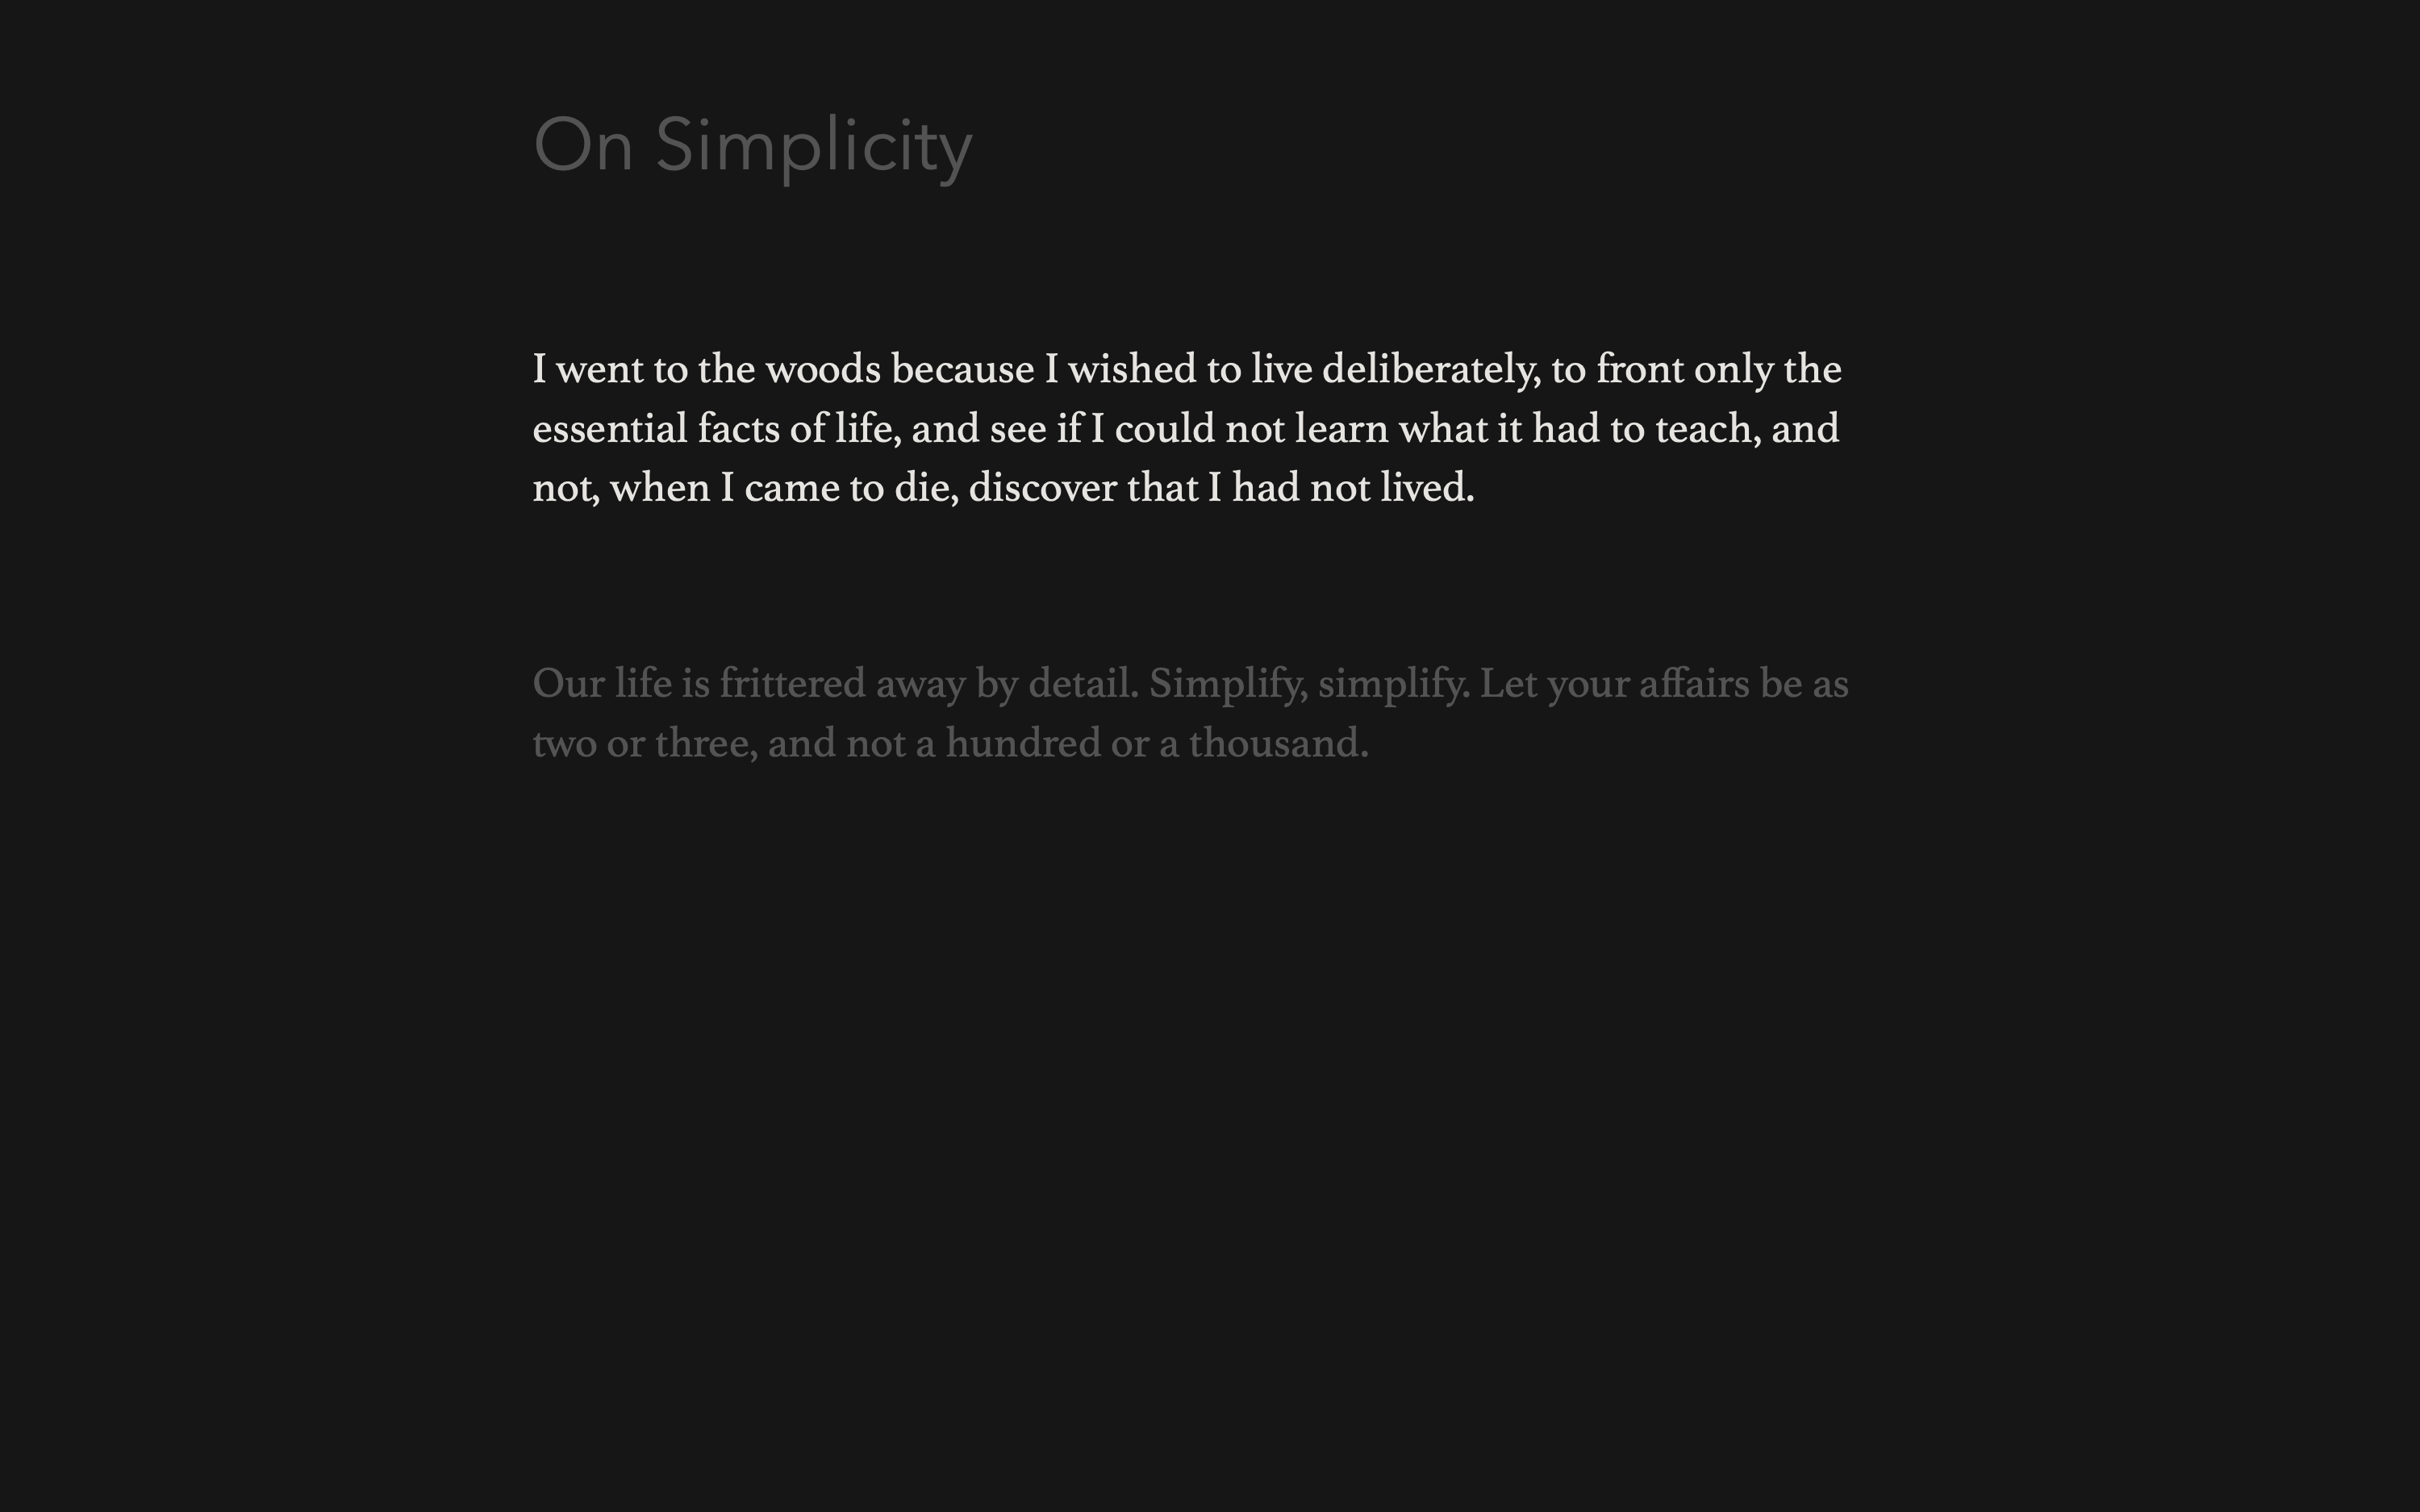
The lit block is whatever sits between two line breaks, so a heading or a single list item counts as a paragraph of its own. Move the caret and the light follows it.
Focus mode works in the plain column and in page view alike, and it combines with typewriter mode — one holds the writing line still, the other clears everything around it.
Hidden markdown markers are left alone; they are already invisible.
This is display only. Nothing about the file changes, and the piece is dimmed nowhere else — the library, printing and publishing are unaffected.
Typewriter mode
The line you are writing holds near the middle of the screen.
Typewriter scrolling keeps the caret at a steady height. The page moves under the line you are writing instead of the line marching down the window, so your eyes stay in one place for the length of a session.
Turn it on with ⌘K → Turn On Typewriter Scrolling, or in Settings → Writing → Typewriter scrolling. The setting is remembered between launches.
The writing line settles a little above the middle of the window, and the page catches up as you type. Clicking elsewhere in the piece does not pull the view after it — a page that jumps under a click reads as a fault rather than a feature.
Blank room is added above the first line and below the last, so the opening line of a new piece and the closing line of a finished one can both hold the same height.
Typewriter scrolling applies to the plain column only. In page view the sheets scroll normally, because a page has a top and a bottom and holding the caret mid-window would fight them.
It pairs with focus mode, which dims everything the caret is not in.
Page view
Letter or A4, laid out as it will print.
Dispatch has three layouts. Immersive is a plain column with no page edges. US Letter and A4 draw the writing on sheets of paper, one after another, with a one-inch margin on every side.
Choose one with ⌘K → Layout…. The choice is remembered.
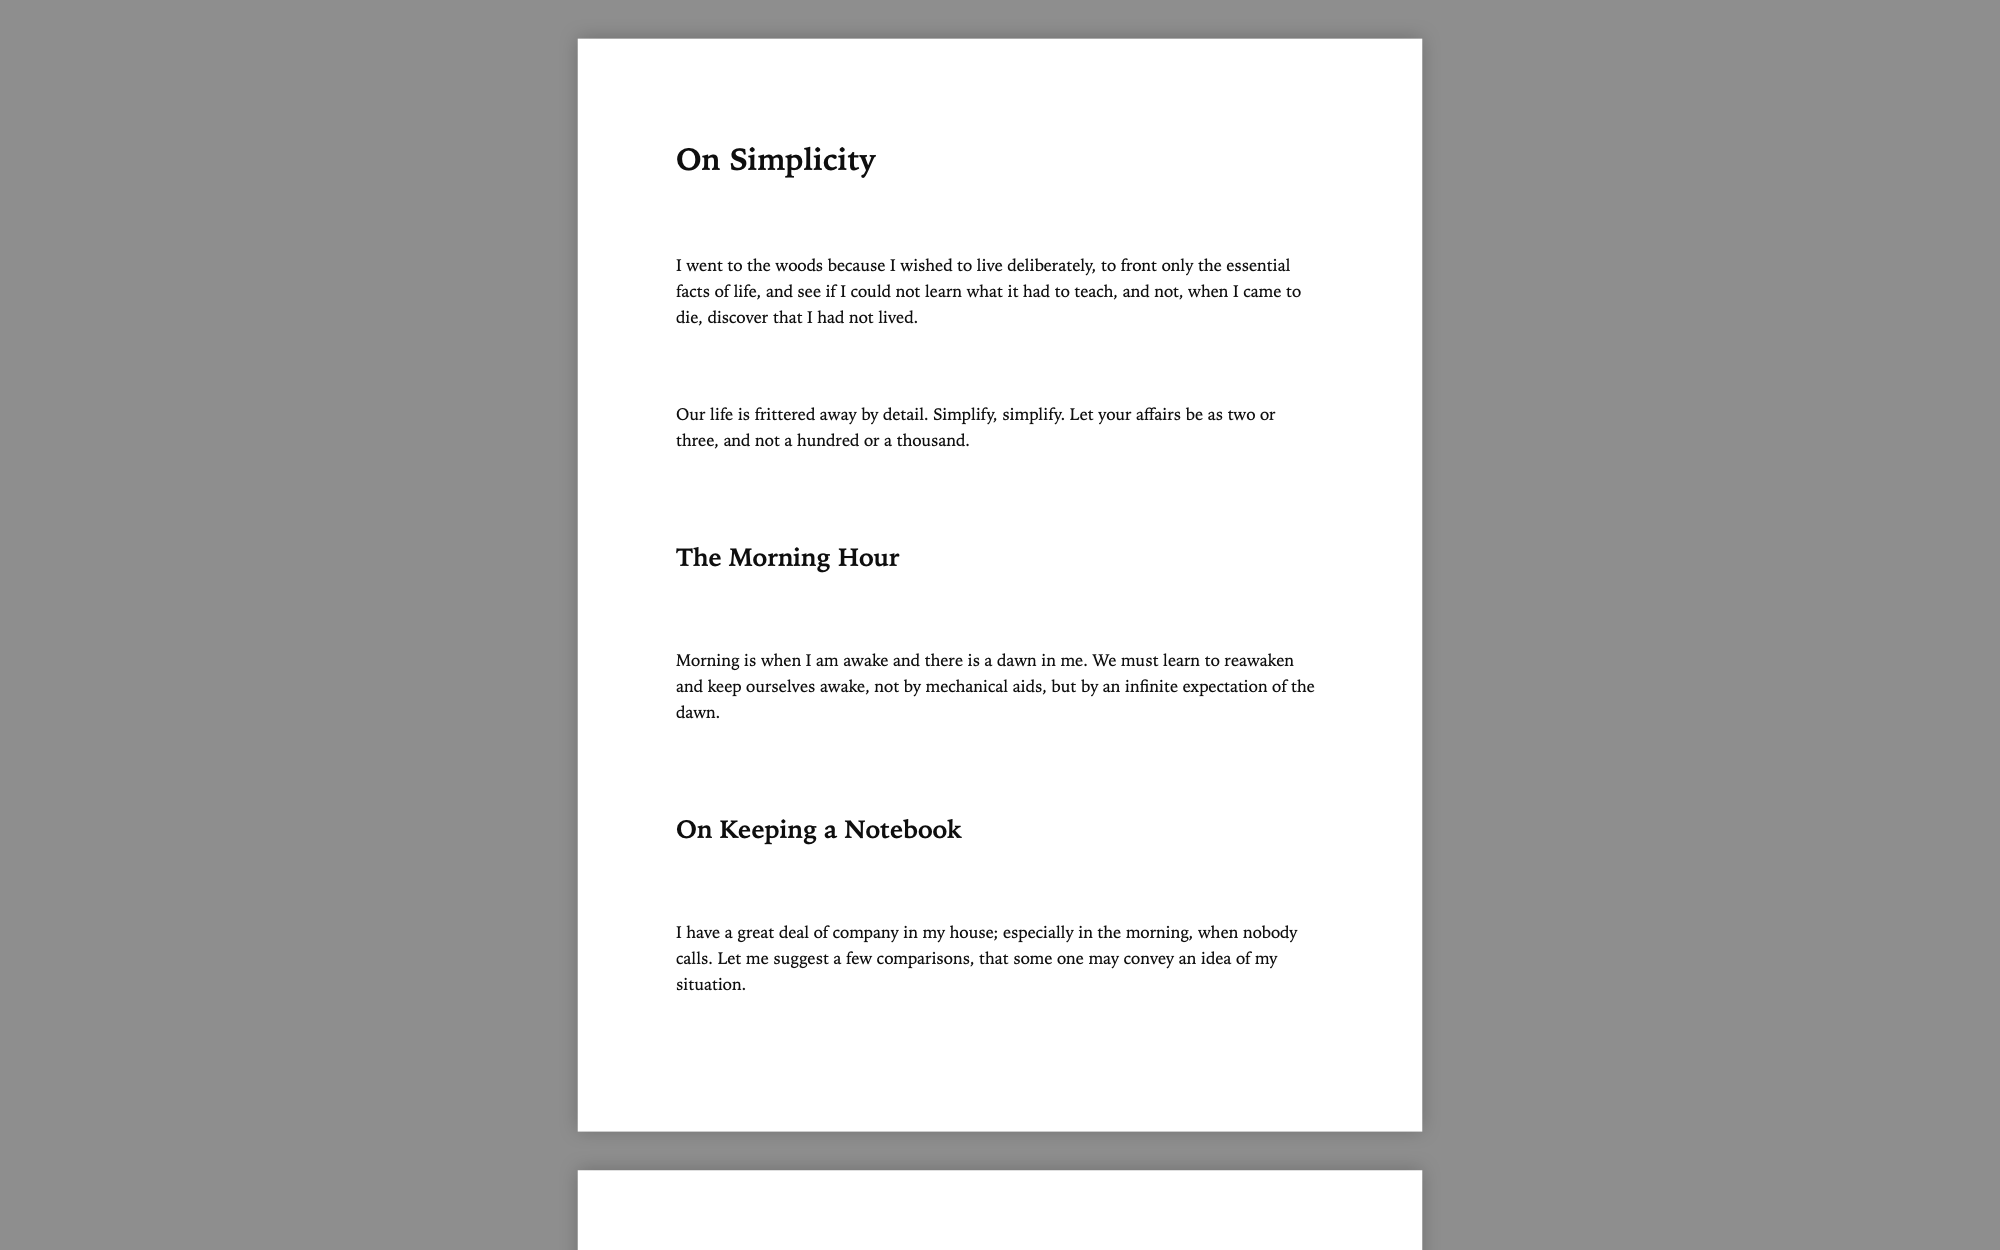
The break on screen is the break on paper
A paged layout is a preview of the printer, so it uses the page’s own measurements rather than your screen ones. Type is set at Text size on paper (Settings → Writing), not the on-screen size, and a line that would straddle the foot of a page is pushed whole onto the next. The screen and the printer read a single paper size, so what breaks here breaks there. See Printing.
Sheets are white on a grey canvas in every theme. Paper is paper.
Page breaks
⇧⌘Return, or ⌘K → Insert Page Break, ends the page at the caret. The marker is written into the file as an HTML comment, so every other markdown reader ignores it, and publishing strips it out.
Zoom
⌘+ and ⌘- zoom the sheets between 60% and 200%, and ⌘0 returns to full size. Zoom magnifies what has already been drawn and never re-lays the text, so a page break cannot move while you zoom.
Focus mode works here as it does anywhere. Typewriter scrolling does not.
Slash commands
Block formatting from the start of a line.
Typing / at the start of an empty line opens the action bar — the same one ⌘K opens, with the same actions. Type a few letters to narrow it, then press Return.
The slash is inserted into the text and stays there while the bar is open. Choosing an action removes it. Dismissing with esc leaves it alone, so a line that genuinely starts with a slash can still be written.
Only a line that was empty triggers it. A slash anywhere else in a line is an ordinary character.
What the block actions do
- Heading 1, Heading 2, Heading 3 and Body Text — set the level of every line the selection touches. Body Text takes the hashes off.
- Bulleted List and Numbered List — numbering is written out, so the file reads correctly anywhere.
- Quote — a
>on each line. - Centre — the one thing markdown cannot express, written as a centred HTML paragraph and understood by the editor, the printer and publishing.
- Link… — wraps the selection and leaves the caret in the address.
- Insert Image… and Insert Page Break.
Lists, quote and centre come off again when every line they touch already carries them.
All of these work on whole lines, not on the characters inside them, and each is a single undo step. For bold and italic, which do work on characters, see Markdown as you type.
Images
Drop a picture into a piece.
There are two ways in. Paste — when the clipboard holds a picture and no text, the image is written into attachments/ beside your writing as a PNG. Insert Image… — from ⌘K, from the Format menu, or with ⌥⇧⌘I — opens a picker and copies the file you choose into the same folder as it stands, keeping its name and its format.
Either way the piece gets a plain markdown reference: . Insert Image… puts it on a line of its own; a paste lands it at the caret. Nothing is embedded in the .md file, and nothing is re-encoded on the way in except a paste.
In the editor
A reference with a line to itself is drawn as the picture, never wider than the column. One sitting mid-sentence stays as text.
Drag the bar on its right edge to resize. Only the width is adjustable; the height follows it. The width is recorded in the alt slot —  — which stays a valid image reference in any other markdown editor. Drag back to full size and the width comes out again.
A reference resolves only to a file inside your library folder. See Where your files live.
What travels
Printing draws the pictures on the page. Copying, or publishing to a destination that takes formatting, embeds each one so it survives the paste; anything that could not be included is named in the message rather than discovered once the post is live. Plain-text destinations carry no images at all. See Copying and exporting.
A piece that opens with an image is still named after its first line of prose.
Word-count goals
A target for the piece, and the count that tracks it.
A line under the editor counts as you write: 412 words · short · ⌘K for actions. The word beside the count is the shape the piece has taken — social under 120 words, short under 700, long-form from there, and empty before you start.
Only runs of text containing a letter or a number are counted, so a bullet or a stray asterisk is not a word.
Setting a goal
The action bar carries a Goal entry named after the open piece. It offers three targets — 120 (Social), 400 (Average) and 1000 (Long-form) — and No goal, which clears it.
The inspector (⇧⌘I) takes any number at all. Type it into the GOAL field, or use the same three presets beneath it, and the × clears the target.
With a goal set, the count line reads 412 / 400 words ✓ · short · ⌘K for actions. The tick appears when the target is met, and the line goes from grey to full strength at the same moment.
Where the goal lives
The goal belongs to the piece, not to the app. It is stored in the file’s own frontmatter as goal:, so every piece can carry a different one and the target travels with the file.
Nothing is enforced. Passing the target changes that one line and nothing else; falling short of it blocks nothing — a piece under its goal prints and publishes exactly like any other.
Proofreading
Spelling checked on your Mac, on demand.
Dispatch does not underline words while you write. Spelling is checked when you ask for it: press ⌘;, or choose Proofread… from the action bar.
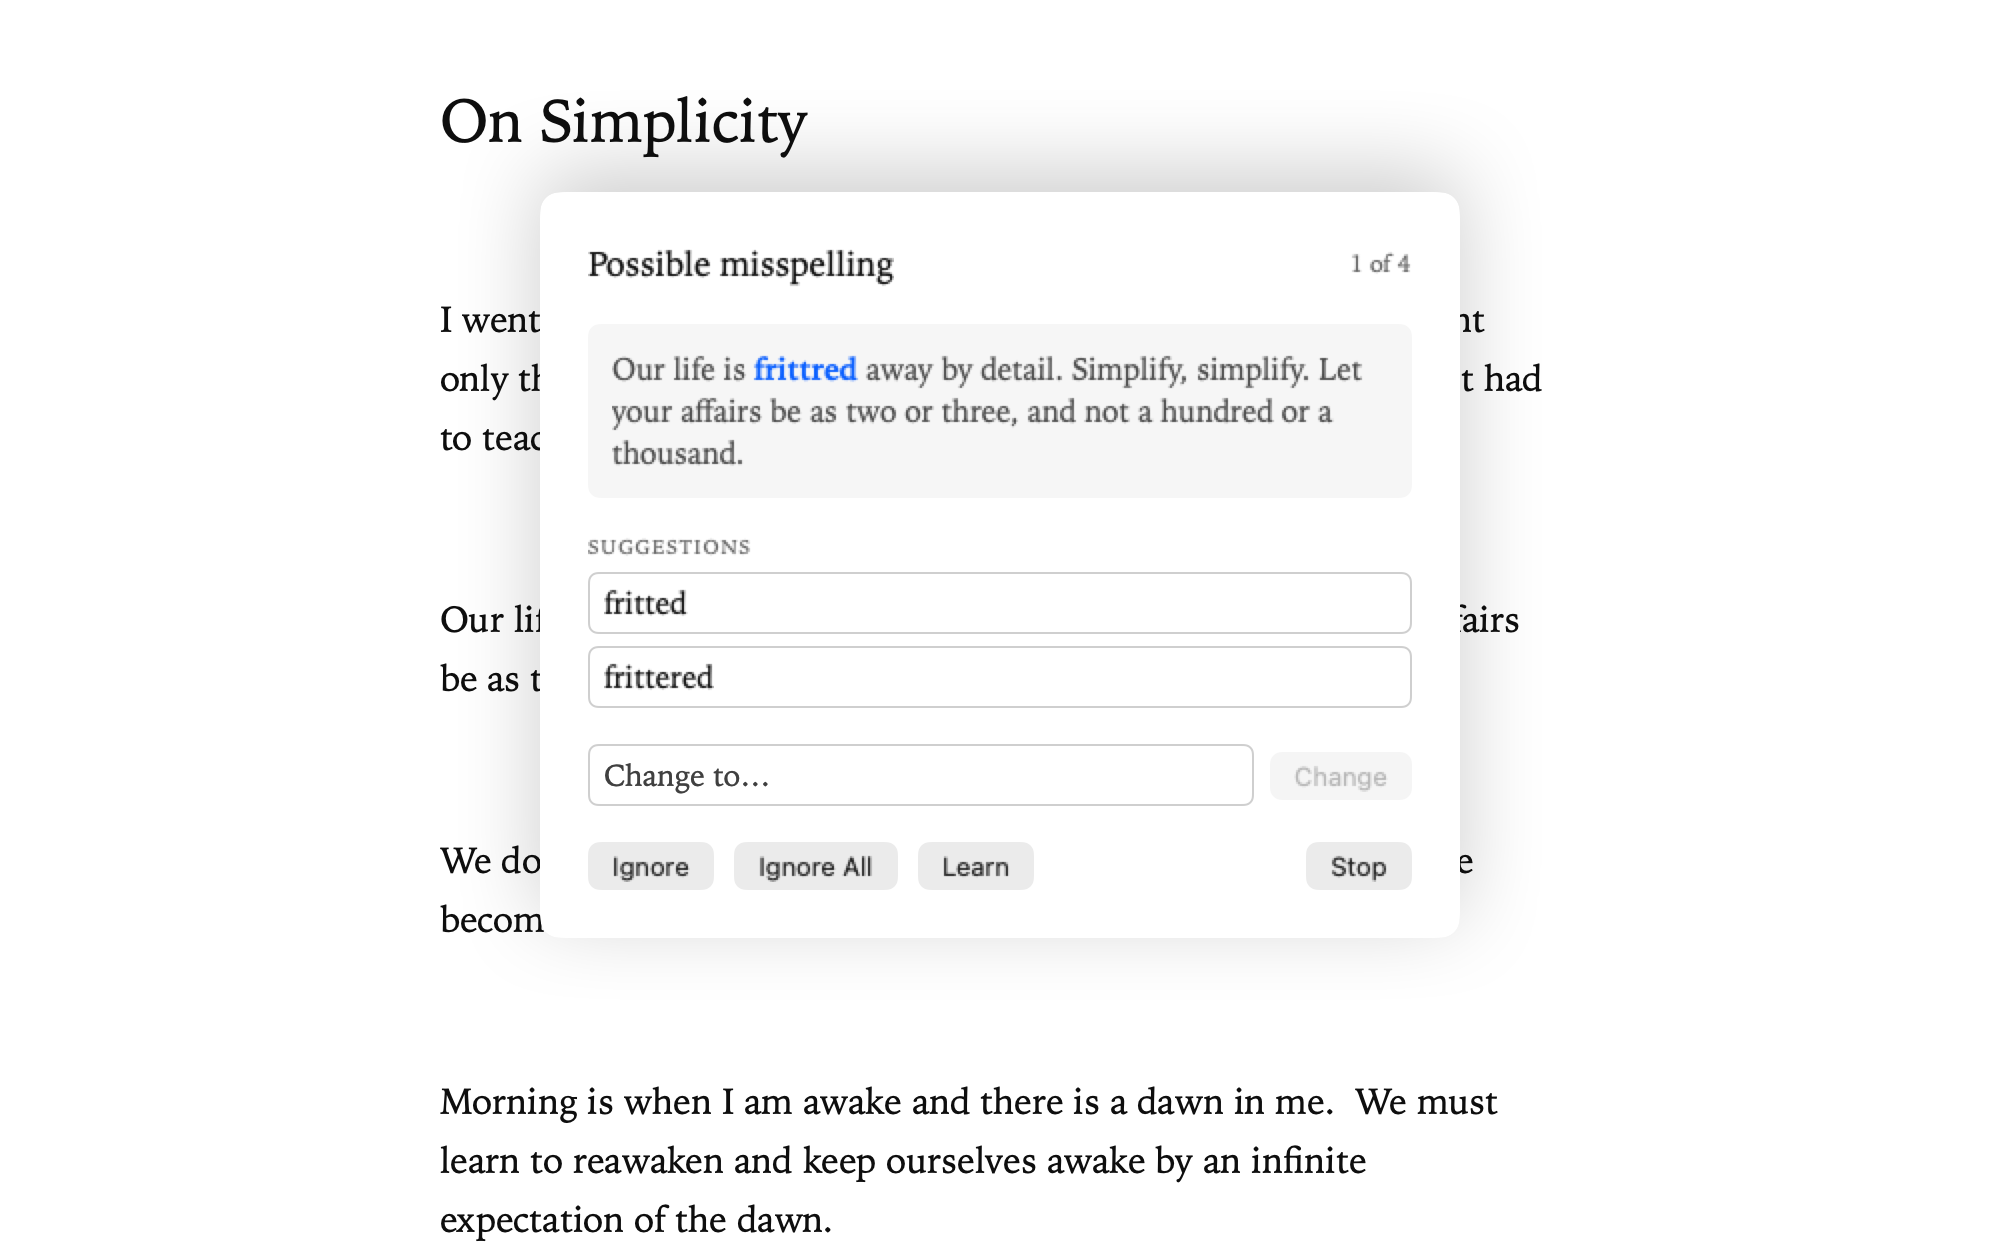
The pass walks the piece in reading order, one flag at a time, counting 3 of 11 as it goes. Each flag shows the line it sits on with the run marked.
What is checked
- Possible misspelling — from the macOS dictionary, in the language your Mac is set to
- Repeated word — “the the”, across a line break as well
- Double space
- Space before punctuation
- Missing space — after a sentence ender, or after a comma, semicolon or colon
- Capitalization — a lower-case “i” standing on its own
Everything but the spelling is a fixed rule, so the same text always produces the same flags.
Working through a flag
Choose one of the suggestions, or type your own into Change to…. Ignore moves on. Ignore All drops that word for the rest of the pass. Learn — on spelling flags only — adds the word to your Mac’s dictionary, so it is never flagged again here or in any other app. Stop ends the pass and keeps every fix already made.
When there is nothing to fix, the sheet does not open and a message says so.
Before publishing
Publishing the open piece runs the same pass first. Working to the end offers Publish; stopping cancels it. A piece published from the library without being opened goes straight out.
The check runs entirely on your Mac. See Privacy.
Getting started Writing Organizing Publishing Reference Account
The help docs and changelog content is AI-written.